Good visual representation is a must in any online marketplace, especially on Etsy. The platform is well-known for its uniqueness, and product quality needs to stand out.
This is where imagery comes into the scene. High-quality photos not only attract attention but also communicate the value and craftsmanship of your items.
In the sections below, we provide photography tips and tricks that will help you master the art of Etsy product visualization

Why high-quality product images are an absolute must
Etsy is the prime marketplaces for handmade items in the world.
As such, it’s a hub for thousands of craftsmen, all sharing one goal – more traffic and high sales volumes.
Naturally, the majority of niches are extremely saturated and highly competitive. Positioning your listings ahead of others requires a strategic approach. It’s a matter of implementing Etsy SEO best practices to fully optimize your listings.
One of the key components of Etsy SEO is imagery.
Etsy SEO: Ultimate Guide To Helping Customers Find Your Shop
The basic optimization includes uploading 10 images per listing. But that’s just the foundation.
Going above and beyond with eye-grabbing, compelling photography is bound to attract more shoppers to your listings.
If you don’t have the budget to spend on professional photo shoots, don’t worry. We’ll guide you through taking great photos of your Etsy products below.
How to create stunning pictures of your Etsy products
There are several things you’ll need to do to make sure that you’re capturing your Etsy items in the best possible light.
Here’s what you need to know.
Understand your customers and niche
Before we can even speak of photography techniques, it’s essential to have a clear understanding of who your audience is.
Remember – Etsy shoppers are usually on the lookout for something special. This may be a handmade gem, a vintage product, or a uniquely crafted item.
The platform’s buyers appreciate the narrative behind each product. Your photos should, therefore, not just display the item but also convey its story and the passion behind its creation.
To do so effectively, make sure you can describe in detail your shoppers. How old are they? What are their interests? What’s peculiar about their lifestyle?
Answering these questions will enable you to present your products in a way that will intrigue and inspire your clients.
Next, analyze top-selling products that are in your market. Assess their image quality, angles, and examine how they use the 10-image slot limit.
For example, you’ll notice that on most listings, the first image is the most eye-catching as it appears in search results, while subsequent photos often show different angles, details, and use cases.
Photography basics for striking images
After you’re clear about your audience, it’s time to move on to the meat and potatoes – photo shooting.
Striking the perfect balance with lighting
Depending on the colors of your product, the appropriate lighting will vary.
However, an unwritten rule in photography is that the best light is during the “golden hours”, meaning early morning or late afternoon.
Where possible, take advantage of natural light. Position your item near a window with diffused light, avoiding harsh shadows and direct sunlight.
Background
Your choice of background will also dictate how attractive your products appear.
A clean, uncluttered setting focuses attention on your item. It prevents distraction and ensures quality.
Use a plain white backdrop for a professional look or a relevant setting that adds context without distraction.
If you’re positioning your listing in a specific niche, you can test different backgrounds that resonate with your audience.
Let’s look at a real-life example.
The “Gold halo crown, Moon jewellery, Gold crown, Sun crown, Bridal headpiece, Gold Headdress, Fairy crown, Wedding crown, Bridal crown” listing is among the bestsellers in the headpiece segment. It features gold elements and different sun, moon, and star elements.
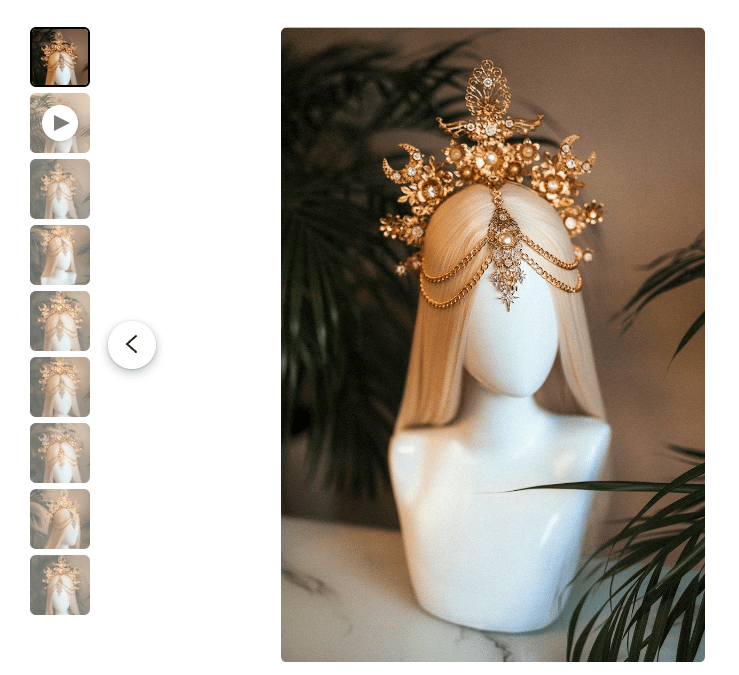
The photos of the product feature a white background that contains similar shapes as the ones on the crown. This establishes a unified tone, instantly revealing to shoppers what they can expect from the item.
Choice of camera equipment
With today’s advanced technology, there are plenty of options to choose from when it comes to camera use.
In most cases, a DSLR camera is ideal, but a smartphone with a good camera can also suffice. For example, if you’re an iPhone user, anything above the iPhone 12 will be enough to capture your product in an appealing way.
Use a tripod to avoid blurry images. This will enhance the professional look of your product.
Composition and styling
When it comes to composition and styling, there are no strict rules. Just like in art, creativity is welcome in photography.
However, there are some ground rules that it’s recommended to follow.
First, show your product from multiple angles. Take images of its top, side, front, and back.
Include close-ups if there are any details worth highlighting.
Use the rule of thirds – a fundamental composition principle in photography and visual arts. This guideline proposes splitting an image into nine equal parts by two equally spaced horizontal lines and two equally spaced vertical lines.
This creates a grid-like structure on the image, guaranteeing a balanced composition.
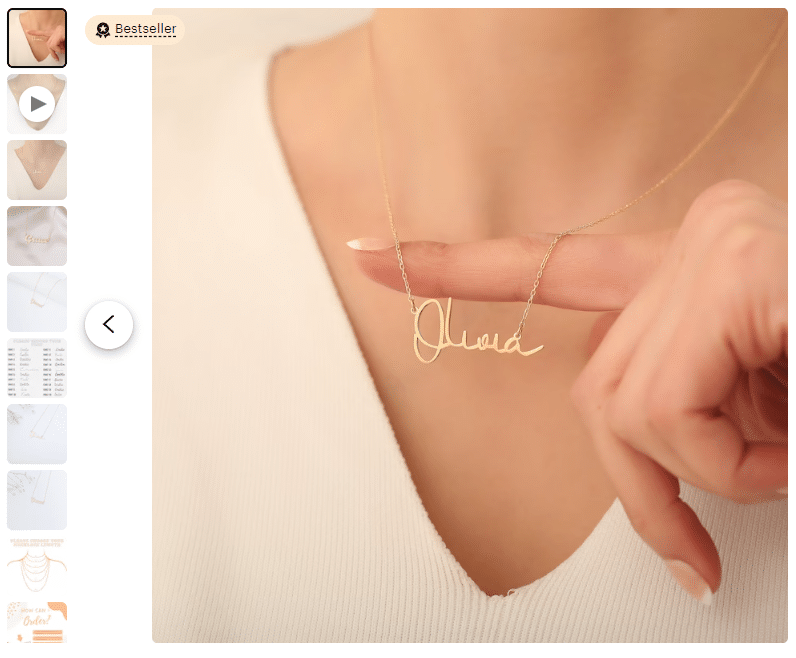
In terms of styling, it’s advisable to style your setting and add elements that complement your product. For example, if you’re a jewelry seller, display your gems on a stand or on a model to show scale and elegance.
Be consistent
Regardless of the style you select for your imagery, make sure that you’re consistent throughout your photos.
Use the same filters, angles, and backgrounds. As a result, you’ll be able to build a strong brand image and recognition on Etsy.
Post-processing – enhance but don’t mislead
After you’ve finished your product’s photoshoot, it’s time to add some spice to the mix.
Adjust brightness, contrast, and saturation to enhance photos. At the same time, ensure they remain true to the product’s real-life appearance.
In other words, avoid over-editing to prevent creating misconceptions about your item.
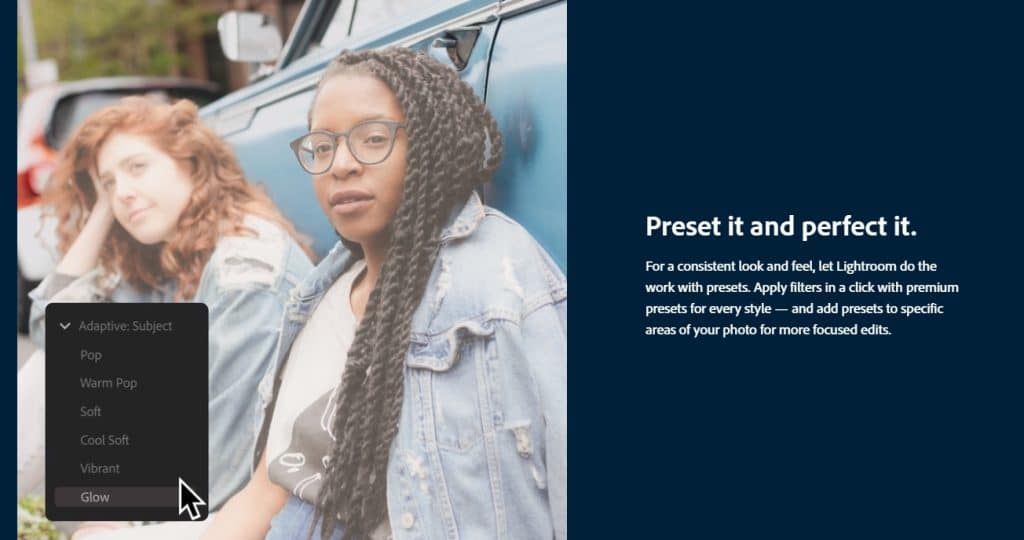
Tools like Snapseed or Lightroom offer user-friendly interfaces that are especially useful for beginners.
Stay on the right side of the law
Although it may seem like you can’t go wrong with imagery, one wrong move can cost you a fortune.
If you include extra elements for your visual representation (like background music in videos), ensure you possess all the necessary rights. In addition, always use original photos.
Keep in mind that misrepresenting items through photography can result in customer dissatisfaction and damage your reputation as an Etsy seller.
Engage with your shoppers through photography
What differentiates exceptional product photographs from the rest is that they trigger emotions by telling a story.
Craft a narrative through your photos.
Imagine that you sell handmade candles. One way to create a narrative around your offer is to show your candles lit in a cozy room setting to evoke a sense of warmth and comfort.
This will not only create a story but will also allow your buyers to imagine the practicality of your product.
Make upgrades where possible
Just because you’ve captured ten photos of your product doesn’t mean that you should stop there.
Give your listing some time to accumulate data. After a few weeks of publication, examine how your product is performing. Check if you’ve received any feedback from users concerning your imagery. If there’s criticism, receive it with an open heart and make improvements.
If you notice that your listing is receiving a lot of traffic but isn’t converting well, one of the reasons could be your imagery.
Play around with different approaches and techniques until you land on the strategy that works best for your item.
In conclusion
Effective photography is the key to your success as an Etsy seller. The tips and tricks from above will help you create pictures that are worth a thousand sales.
Implementing our recommendations will enable you to create visually appealing listings that tell a story, engage your audience, and ultimately drive sales.

