You’ll hear a lot of times that running an online business automatically makes you a content creator and it’s completely true!
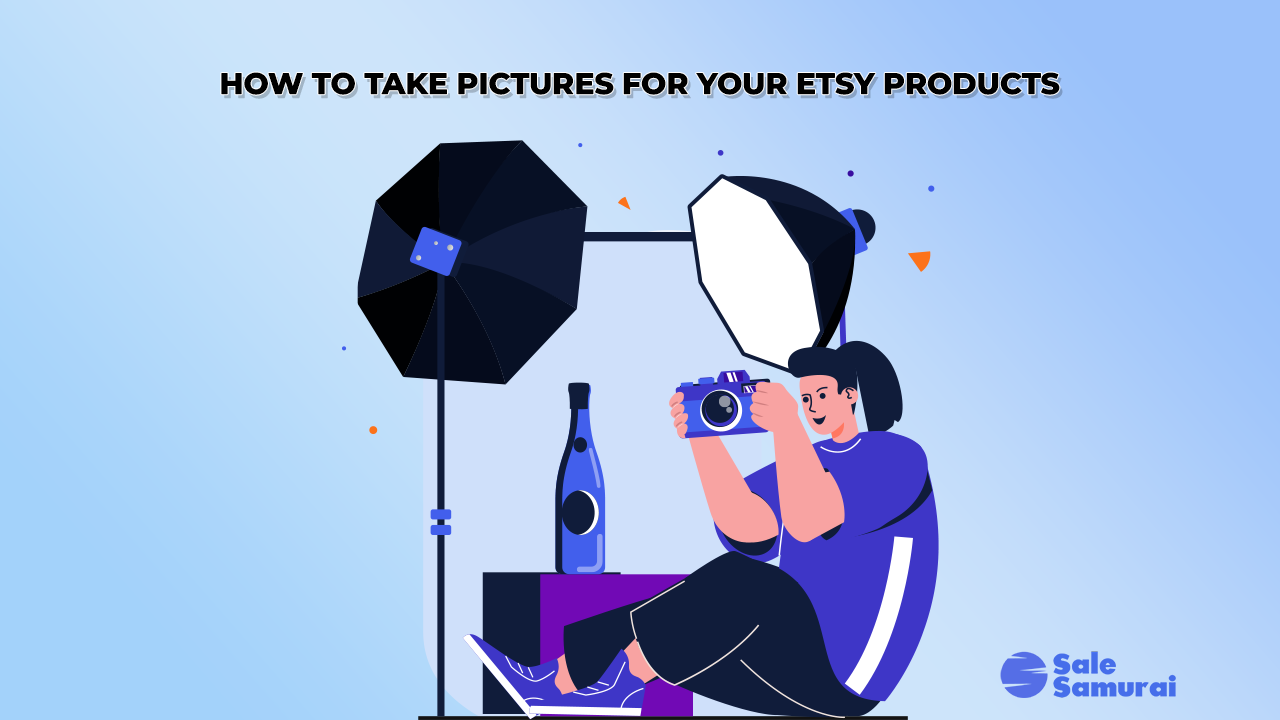
In order to keep up with the fast-paced e-commerce world, new social trends, and changing SEO rules you have to be able to adapt new positions within your Etsy business. One of the roles you’ll find yourself doing is that of product photographer. Taking high-converting product pictures is essential to running a successful Etsy shop so here’s our guide on:
How to Take Pictures for Your Etsy Products.
There’s a lot that goes into how to take pictures of your Etsy products including setting up good lighting, moody backgrounds, and editing your pictures to show off product details.
There is a lot that goes into Etsy product photography, and it can be extremely time-consuming which is why knowing the best practices, common mistakes, and having an Etsy photography checklist is vital!
You want to ensure that you set yourself up for success and you organize your photoshoots to maximize your picture-taking productivity. Read below for our ultimate guide on how to take pictures for your Etsy product!
Why Etsy Product Photography Is Important
Before we get into how you should take your product photos let’s talk about why you need to take this step in running your Etsy business very seriously.
Your product pictures and thumbnails are the absolute FIRST thing your audience will see.
Shoppers on Etsy are looking for your products… yes, your products! And you are doing them a great disservice by not showing up on their front page on Etsy search.
Sure you can have a foolproof SEO strategy and use the highest search volume to lowest competition keyword proportion that Sale Samurai gives you, but if you don’t have eye-catching product pictures then you are setting yourself up for failure.
Customers will always look at your product picture before even reading the product title, description, or checking out the reviews. So, it’s extremely important that you get this part right.
Etsy’s search algorithm not only ranks your Etsy listings based on your keywords and customer satisfaction scores, but also based on your proportion of traffic.
In other words, if you show up on Etsy search but customers just aren’t clicking on your listings then the Etsy algorithm is going to prioritize your competitors over you. Keep it up and you risk falling off of Etsy’s front page.
So, it’s not that product photography is important it’s everything!
If you’re on Etsy for the long haul then you should invest the time and even money to get it right.
Luckily for you, we’ve compiled an ultimate product photography guide below with common mistakes, best practices, and your essential checklist.
Read below for more!
Essential Types of Etsy Product Photos
Now when we say essential product photos, we don’t mean you absolutely have to have all of these images taken of your products.
It’s more about what works best for your niche, product, and Etsy shop.
If you’re unsure, try to incorporate at least 3 or 4 of these shots in your listing and test out which combinations give you the highest conversion rate.
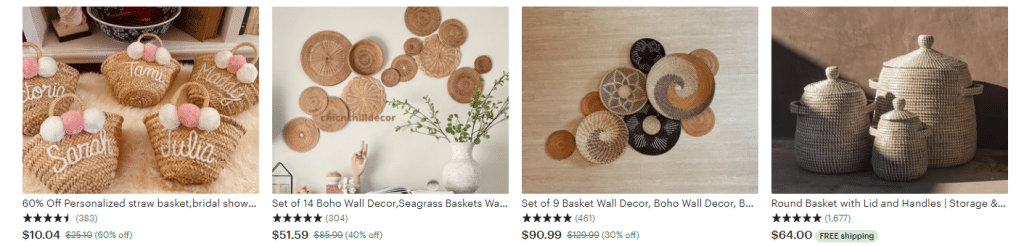
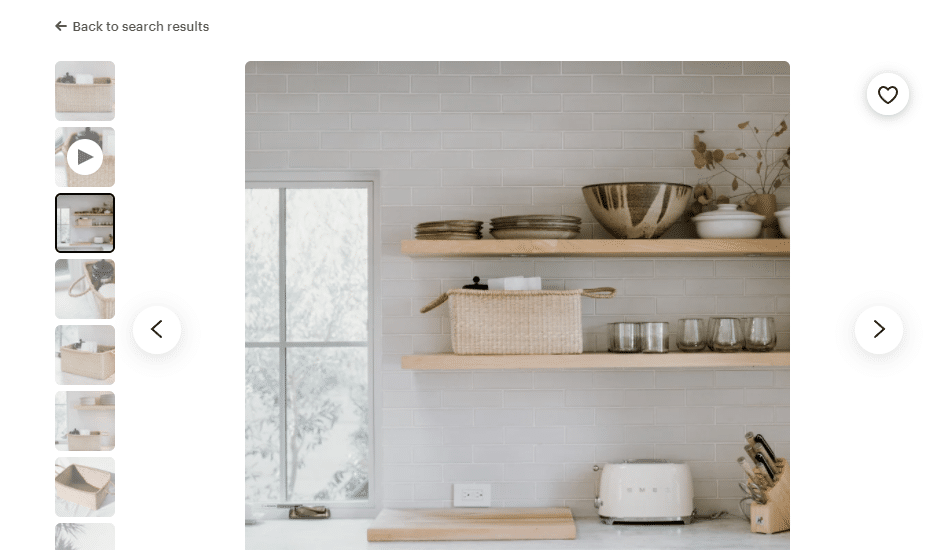
1. The Studio Shot
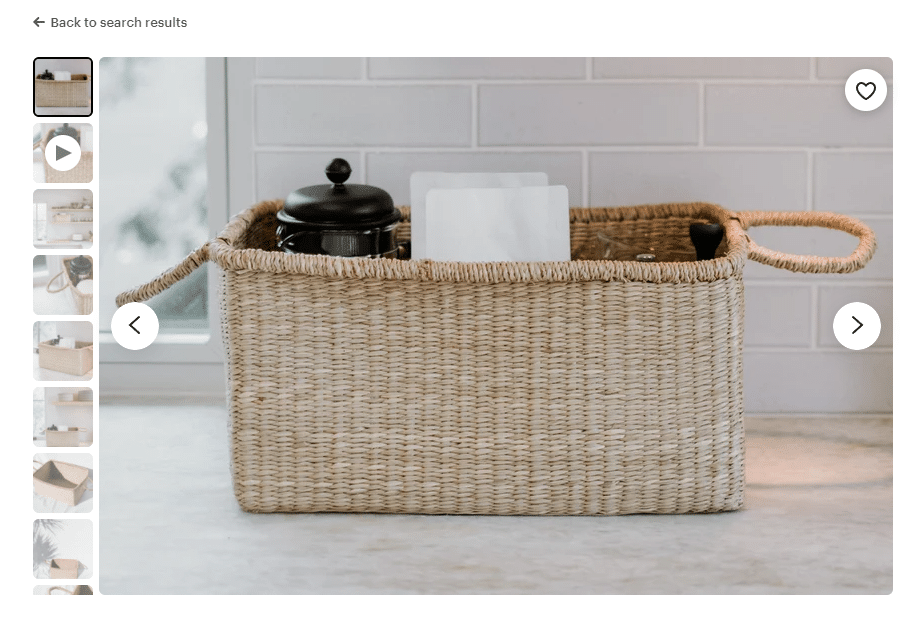
The very first product picture your potential customers will see is your thumbnail.
Now there are a lot of different strategies that work out for Top Sellers on Etsy, but if you’re just starting out… heck even if you’re a veteran, the plain background studio shot is tried and true setup.
Your studio shot will be your product against a white background (or plain background) in good lighting so that your audience focuses on your product details.
You don’t want to crowd this shot with background elements, designs, or anything other than your product and maybe another variation of the product, like if you offer it in a different color or style.
This is a great shot to help your customers understand exactly what they will be getting which will, in turn, minimize the likelihood of a return or a bad review.
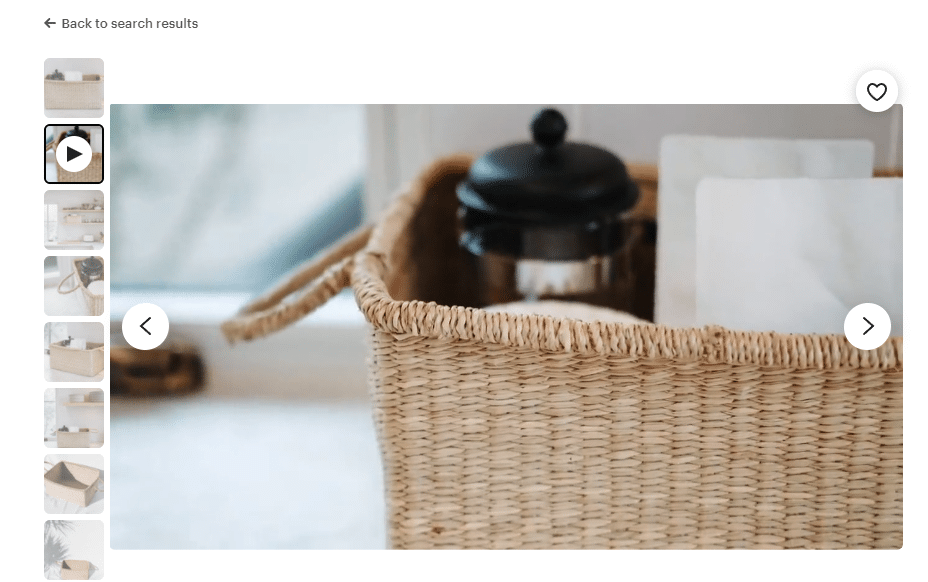
2. The Detail Shot
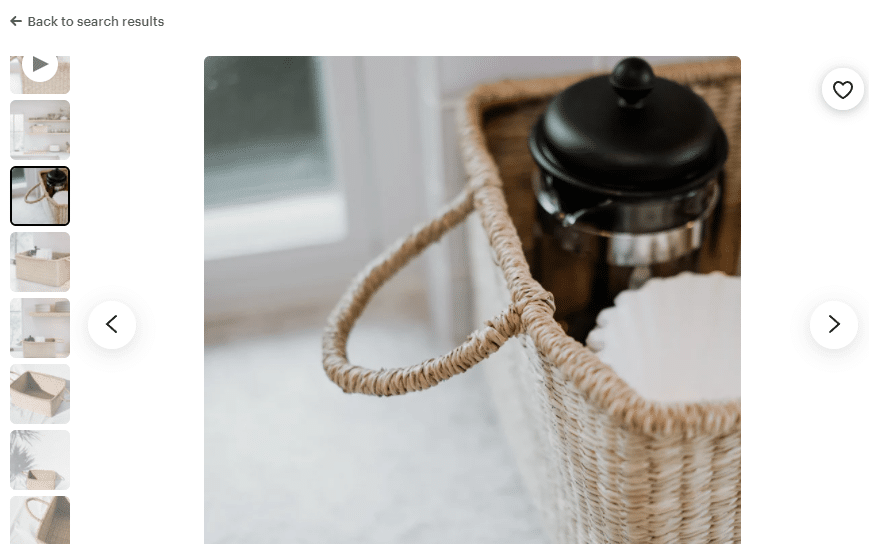
Ok, now that you have your basic image down you can branch off of that and also incorporate a detail shot.
This will be a close-up image of your product that focuses on a detail that’s important to your Etsy product.
Showing off your product details is a fantastic way to increase your conversion rate.
Close-ups are a great way to show off a specific texture, pattern, style, design, shape, color, usage, etc.
You can easily get detailed shots with a high-quality DSLR but your smartphone can do just as good a job!
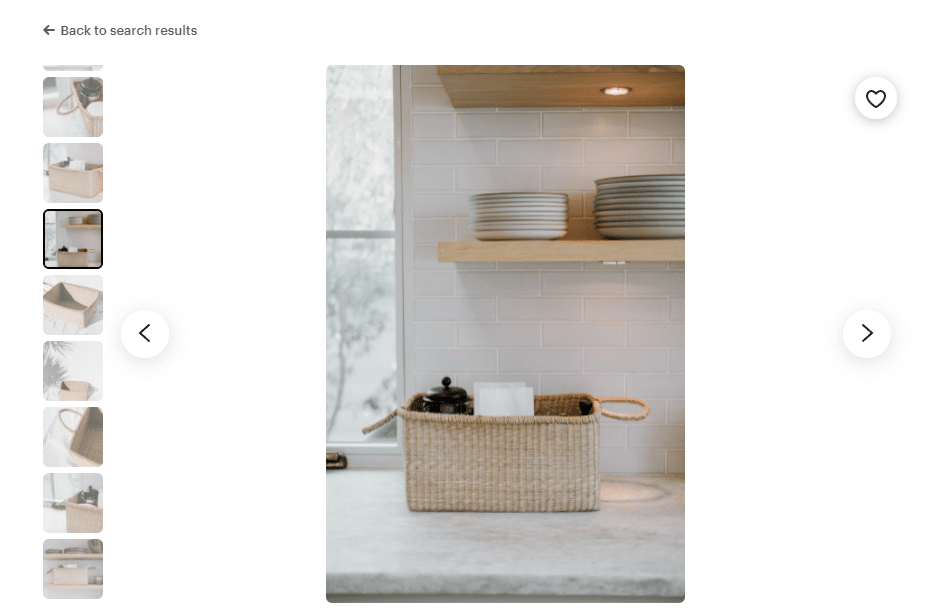
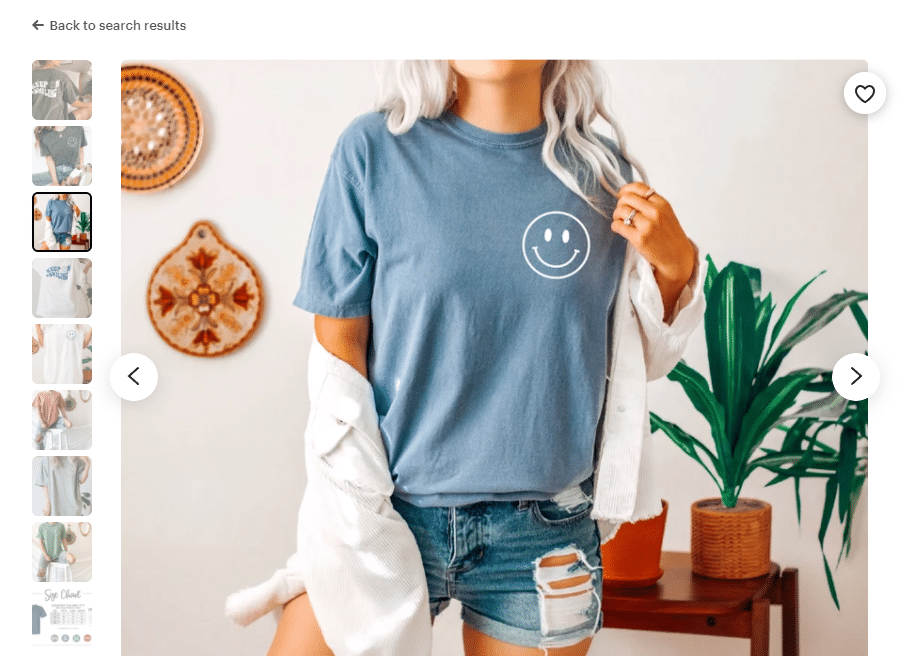
3. The Lifestyle Shot
One of the most important pictures you should take of your Etsy products is the lifestyle shot.
This is where you show your product being used, worn, or accessorized in a natural setting.
Maybe you sell surfer jewelry, then you want to have a model or actual surfer on a beach with your products!
This is an extremely important shot because it creates a certain mood or feeling around your listing which in turn solidifies your brand image.
What you are selling is an experience, an emotion, and a setting. The product is an extension of that.
These sorts of pictures will drastically increase your average order value over time!
4. The Process and Packaging Shot
You may not think that how you create or package your products is interesting but on the contrary!
Etsy shoppers tend to be more interested in arts and crafts as well as the creative process so showing glimpses into your business’s behind the scenes is a great way to create product interest.
Get a few shots (and even videos) of your products being made or how they are packaged to further emphasize that brand feeling.
This sort of picture will build a lot of excitement around a listing on Etsy.
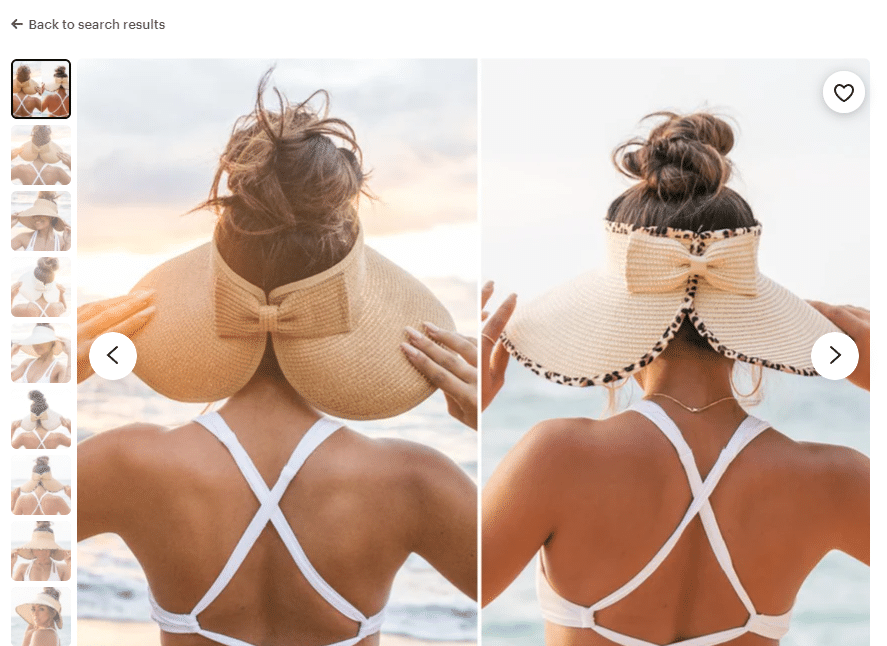
5. The Scale and Group Shot
One important Etsy product picture is always the scale shot. If you’re smart about it you can combine your scale, lifestyle, and detail shot into one!
Scale shots are a way for your Etsy customers to see the real-life size of your products.
You can also highlight your products in a group shot where multiples of the same product or variations are placed together.
Those are your basic Etsy product image essentials, now let’s talk about how to actually take your shots:
How to Shoot Your Etsy Products
Taking Etsy product pictures should not be a complicated or difficult process, but it is rather time-consuming especially if you have a large Etsy catalog.
So, here’s our guide to taking high-converting product photos for Etsy and how you can organize your photoshoot to save time and money with our product photography checklist!
How to Style Product Photos
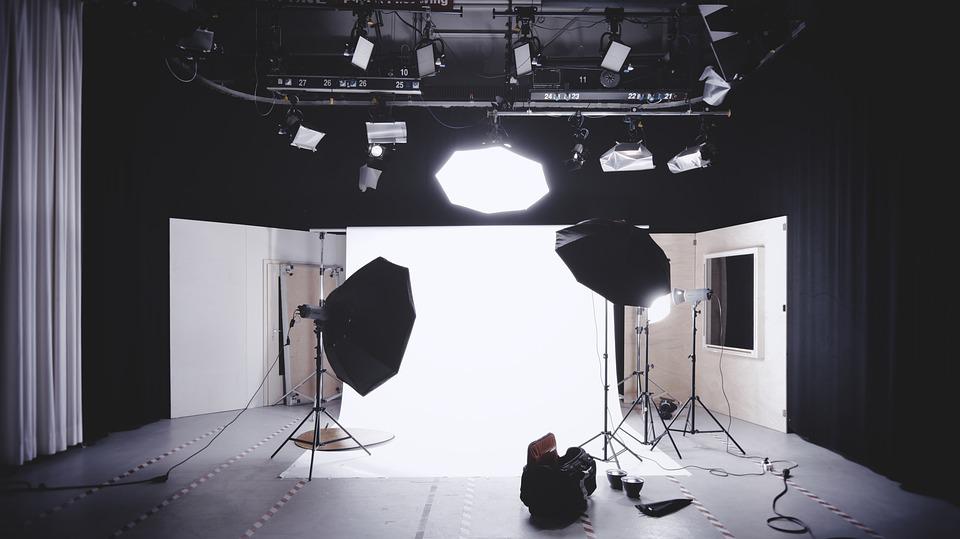
The first thing you want to do is make sure you have your background and lighting down.
This will impact your entire process.
In terms of lighting, sunlight is second to none. Truly, the most expensive lighting setup can’t hold a candle to outdoor light.
So, if you live in an area that gets a lot of year-round sunlight you are in luck!
That being said it’s not always an option or convenient to take product pictures in this way so you may need to invest in a lightbox.
You can find some really affordable options online or you can make one yourself to save some extra money.
Ideally, you want a direct light source to provide the majority of your shot’s lighting and a secondary light source to dull out any harsh shadows and even out your images.
Beyond that, you can think about getting some LEDs if you want to have a specific shiny feel within your lightbox.
Along with your lightbox, you want to make sure that you have a background setup.
For your studio shots, all you really need is a crisp white background that you can easily get with large sheets of paper.
The background and setting portion are where you can get creative.
First of all, you can experiment with colors. Your studio shots don’t always have to have a white background especially if you want to set a specific mood. Go for another monotone color that will work better in your Etsy niche!
Depending on your product you can also establish some lifestyle shots with your background by using artificial backdrops.
These are very affordable, and you can get a bunch of different kinds of artificial backdrops including marble, brick, stone, and ones of nature!
You also want to style your product pictures by adding in some elements that work well with your products.
Say you’re selling t-shirts with funky bowling designs on them. For your lifestyle shots, you can go out to a bowling alley and get your pictures.
But if you’re thinking about elevating a studio shot then why not get some plastic bowling pins and use them in the background or even place them on top of your products!
Or let’s say you sell enamel cactus pins, then why not have a cactus or two in the shot.
One thing to keep in mind if you do use props or objects in your product images is to mention somewhere in your listing that what appears in the product title is what people will be getting and not necessarily what is shown in each listing picture.
In terms of setting up your shot always keep in mind that you may need to crop or resize your final pictures so set up your camera or phone on a tripod and allow for some spacing on all four corners of your shot.
Taking Your Etsy Photos With A Phone
Who says you have to drop $3,000 on a DSLR camera and lens? That money is way better spent invested back in your business.
Sure professionals cameras are fantastic but honestly, you can get a high-quality shot with your smartphone!
Most people have a phone camera strong enough to take fantastic product pictures that are HD and super detailed.
Just use a tripod and get two shots of your product: one where the product is centered and another where it is placed according to the rule of thirds.
How to Edit Your Product Photos
Editing your product pictures may seem daunting at first, but really it’s super simple.
Now if you are computer savvy nothing beats professional programs like Photoshop or Illustrator, but these take time to master and can be expensive.
For free or inexpensive editing tools you can use things like:
- Pixlr
- Aviary
- Afterlight
When editing you want to focus on making sure your lighting is good so no dark spots are burnt areas in your pictures.
You also want to play around with sharpening and increasing contrast but just slightly so that you can get a better visual of your product details.
Finally, you can clean up spots and blemishes off of your background and crop your pictures to Etsy’s recommended image ratio of 4:3 and size of 2700px wide by 2025px tall.
Common Photography Mistakes
Let’s quickly go over some common mistakes that Etsy Sellers make when taking product shots.
- Low lighting
- Overexposure
- Using flash instead of getting a good lighting setup
- Too much clutter
- Out of focus shots
- Not focusing on the product
- Not using a tripod
Product Photography Checklist
You’re pretty much all set!
You have the basics down now all you need is a go-to Etsy product photography checklist so that you can stay organized and on track when doing your photoshoots!
- Block out a few hours to give yourself enough time to get everything done.
- Plan out each shot including the:
- Background
- Details
- Props, etc.
- Get everything you need!
- Camera or smartphone
- Lighting
- Backdrop
- Tripod
- Objects and props
- Set up your background
- Set up your lighting
- Set up your camera on a tripod
- Set up your product in the shot with its props
- Focus your shot and take it!
- Edit your pictures
And that’s it! Now just rinse and repeat and you’ll see yourself getting better and better!
There you have it! Not so difficult right? Just a few things to keep in mind and soon enough you’ll be able to take near-professional Etsy product pictures for your listings! Keep in mind that having eye-catching product images is just one step of the puzzle, you also need to actually get in front of potential customers. The best way to garner attention on Etsy and massively increase your traffic and conversion rates is by having a solid SEO strategy. Get in touch with Sale Samurai today to learn more!