Etsy’s digital download scene is in full swing as more and more people gain access to technology and begin moving away from physical products- if they can be replaced on a screen. You might be one of those Etsy sellers who is wondering, “How do I get in on the action?”
More specifically, how do you make and sell digital downloads if you are just starting out? Fear not, for this article will cover just that. Come, take a seat. Let’s take a look at how to create and market your own printables!
Step 1: Find the Right Software
The first step to making a printable is to find software or an application that you can make it on. Lucky for you, there are only around a gazillion options to choose from!
If you are a tablet user, apps like Procreate and Freeform are your best friend. If you go with Procreate, you can make beautiful drawings that have near-limitless design tools and effects. Some of the text files Procreate supports are .psd, .procreate, .tiff, .png, .pdf, and .jpeg. This nifty app has a one-time cost and is free to use after.
If you are more of a Mac user, then Adobe Photoshop and Illustrator might be the move for you. These two softwares, while not cheap, are excellent for creating and editing graphic designs. Adobe supports files such as .ai, .pdf, .jpg, .jpeg, .tiff, and .psd.
Photoshop and Illustrator are arguably the hardest to learn and have regular updates, so a time investment will be required. This does not have to be a costly endeavor though, since there are countless tutorials and demos free to watch on YouTube and even on Adobe’s platform.

If you want a free drawing tool, look no further than Inkscape. This is a vector design tool that’s been around since 2003! Even though this is a free-to-use application, it still has a learning curve and requires some learning to get the hang of using it.
If you are not a graphic designer or drawer, that’s okay. Design sites like Canva are made for people that want to create digital goods with pre-existing elements, fonts, and images. On Canva, you can make anything from a social media post to a business card to a wedding invitation.
Is Canva free to use? Well, it can be, but you are quite limited in what you can use. There are ways that you can use Canva for free- one way is to use only their free design tools and elements, and the other is to pay per “Pro” design element used.
What do we mean when we say “Pro”? This is a fancy way of saying Canva wants you to pay for a higher quality design- and it’s usually one dollar for every one of their “Pro” elements, fonts, or images you utilize. To put it into perspective, Canva has over 100 million premium photos, videos, and elements, and over 3,000 premium fonts in their digital library.
If you’re using Canva’s free subscription and paying out of pocket for their premium design elements, the cost will start to stack up and soon, you’ll notice that you’re paying more than you would have been for the “Pro” subscription.
So realistically, if you are planning on using Canva for a while and want to make multiple designs, it’s a good idea to get the premium subscription. There’s even a free 30-day trial if you are unsure and want to test it out first.
Canva supports file types such as .jpeg, .png, .pdf standard and print, and .gif. If you are using the free version, the quality and size of your design are locked to a specific setting- you can have full control over this by becoming a “Pro”.
Step 2: Make a Digital Design
Now that you’ve chosen a software or app to use, it’s time to actually make a design! There are a couple of things to keep in mind when doing this, so let’s cover them.
First of all, make sure your design is the right size. You wouldn’t want a business card template to have a resolution of 2,100px by 1,200px. Most devices have a pixel-per-inch (PPI) of 72.
This means that if the resolution of your design is thousands and thousands of pixels, it will be too big to print appropriately. If you make a design that’s too big, the customer will have to scale it down before they can print it how it is meant to be printed.
On the other hand, if you make a design that is too small, its resolution will suffer and, odds are, when the customer goes to print it, the design will appear blocky if they scale it up, or it will be too small to make out otherwise. No one wants that.
That is why it’s important to know your dimensions beforehand and study what resolution is best for what project. Luckily, most programs and design software will tell you what size you are saving the image as A4 is the standard paper size throughout much of Europe, and 8.5x11in, or “letter” size, is the standard in the U.S.
Another thing to keep in mind when making a design is to include blank margins, and the reason for this is that most printers cannot print to the edge of the page. This means that if your design is stretched out to the corners of the paper, the print version will be cropped.
Another thing to mention about this is the pesky size difference between A4 and “letter” size paper. If you’re making a printable that is around that size, you will want to include margins so that the slight differentiation in paper size won’t cut into your design, since people in the U.S. will likely print out a “letter” size and people everywhere else will print out an A4 size.
One more thing about creating designs- it is very important to keep your design 100% original and not to use licensed characters, quotes, or song lyrics. Just because you see a ton of “Mickey Mouse” ears sold on Etsy doesn’t mean they are being sold legally. Most likely, those shops selling them are committing copyright infringement.
If you don’t have the right to use any such designs, even if you aren’t sure, it’s best not to test the waters. That means keeping your designs authentic and original and not copying anyone else’s work.
Step 3: Convert the Design Into a Printable Listing
Congratulations! You’ve made a digital product… Now, how do you convert that into a digital download that people can buy? First of all, it’s important to know what kinds of files are accepted by Etsy, and what the file size requirements are.
First of all, here is a definitive list of file types that Etsy currently accepts:
- .bmp
- .doc
- .gif
- .jpeg
- .jpg
- .mobi
- .mov
- .mp3
- .mpeg
- .png
- .pfp
- .rtf
- .stl
- .txt
- .zip
- .ePUB
- .iBook
As long as your digital product is one of these types of files, it will be compatible with Etsy’s uploading system. You are limited to five files per listing, and each file is limited to 20MB. That means, if you have a file that is larger than that, you will have to share a PDF link with the customer when they purchase your digital download.
Now, we are getting to the good stuff. When you have your creation ready to go, the next logical step is to convert it into a listing on Etsy. Let’s talk about how to do this in depth.

When you go to Add a listing from your Shop Manager page, you will want to do the following:
- Choose Digital Item when asked the Type of good you are selling
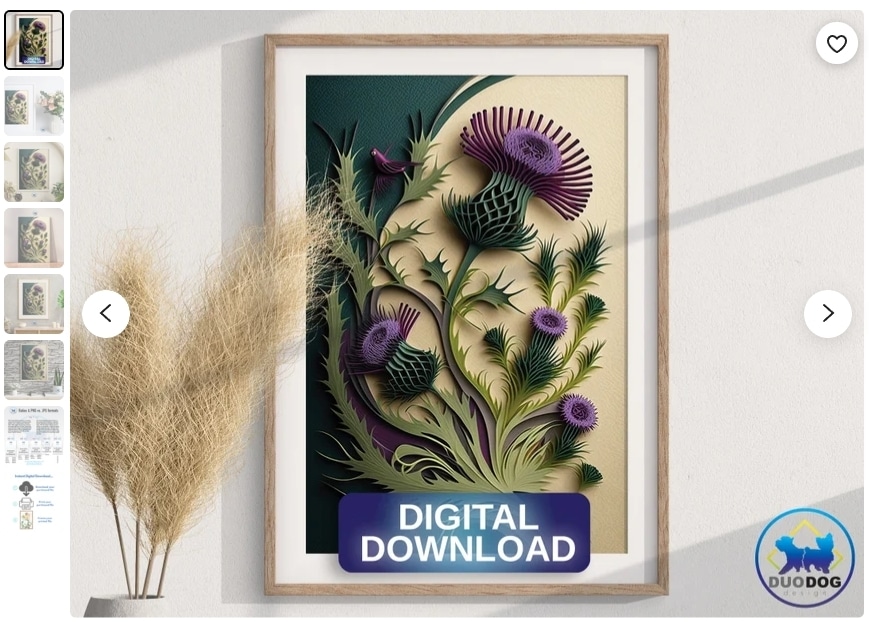
- Add photos of your digital download, whether they are staged, or use mockups
- Add the title, description, tags, categories, and attributes of your item, and use plenty of SEO-geared keywords
- Price your item
- Under all that, there should be an option to Upload files
- There, you can add your files- five maximum, or in a zip file if what you are selling is mostly text
- Finally, Publish or Save your listing
There you have it- a digital design turned into a printable listing! Pat yourself on the back for a job well done and prepare to see some profits!
Step 4: Market Your Listings on Etsy
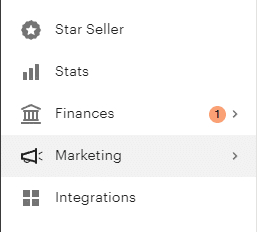
Marketing your listing is arguably as important as making it in the first place. If you are unsure of how to go about this, that’s okay. Etsy has tools built in that will allow you to advertise your items with relative ease, and you can track how well you are doing at any point.
You can start an Etsy Ads campaign under the Marketing tab in your Shop Manager. From there, you choose your daily budget and then choose Start Advertising. When you first start your ad campaign, all your listings are automatically enrolled. You can change that by clicking Manage advertised listings in the Etsy Ads page.
When you have an Etsy Ads campaign, it’s a good idea to keep a vigilant eye on how well your listings perform- this means monitoring your conversion rate and your click-through rate. If you see that certain listings are doing better than others, you can dedicate more money on advertising those.
On the other hand, if you see listings that are underperforming, it might be a good idea to tweak the listing’s tags and keywords or change the digital download itself for a better one.
Of course, SEO is paramount when it comes to marketing. When you are making your listing, as stated previously, you will want to fill the title, description, and tags with rich and diverse keywords that will boost the listing’s rankings in Etsy and Google searches.
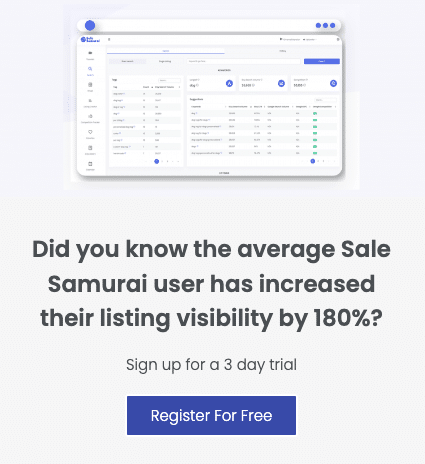
This may seem daunting because you aren’t sure which keywords to use but lucky for you Sale Samurai has a tool to help! We will literally show you high-search and low-competition keywords you can start using today to attract traffic to your listings and sat ahead of your competitors.
Don’t ignore the categories and attributes of your listing! Those act as freebies in terms of keywords and will also help customers find your printables when they are browsing. Be as specific as possible.
As a seller on Etsy, you have the privilege of being part of Etsy’s network of groups, which means you can share your work there and mingle with like-minded people. Take advantage of that and become a part of the community!
Step 5: Market Your Listings on Social Media
Advertising your printables on social media is a great way to generate sales- plus, it’s free (if you want it to be) and you aren’t limited by Etsy’s platform. You can hone in your creative prowess and personalize the way you present your shop.
When you are advertising on sites and apps like Instagram, TikTok, or Pinterest, it is important to remember to post consistently and interact with your followers as much as you can.

Successful shop owners will tell you time and time again that in order to generate sales through social media, you have to put in the work.
Also, the more you include about your design process and inspiration, the better. The more authentic and transparent you are as a seller and a designer, the more people will trust you and vibe with your vision.
Proper hashtags, filters, effects, and stickers are important when targeting your audience, and making your campaign stand out.
This requires you to have an intimate knowledge of your target audience’s age, gender, location, interests, and even the devices they are likely to use when coming across your ads.
Selling printables is a great way to make money solely from your computer or tablet, and paves the way for remote work for entrepreneurs, graphic designers, and digital hobbyists alike. Don’t miss out on this opportunity and get started selling printables today!
For more information about selling on Etsy and how you can exponentially grow your business on the platform get in touch with us today!
- Why Some Listings Get Clicks but No Sales: The Trust Gap Problem

- The Etsy Bundle Spell: How to Increase AOV Without Feeling Pushy
- Seasonal Without the Panic: Evergreen Themes That Still Spike at Holidays
- Printable Goldmines That Aren’t Planners: The Quiet Categories People Ignore
- The Micro-Niche Method: Selling to Tiny Audiences Who Buy Immediately