With the rise of digital downloads on the internet and especially Etsy, more and more creatives, handmakers, and sellers are turning to this incredible passive income opportunity. Digital planners specifically are a huge untapped market ripe for the picking. Here’s our in-depth guide on:
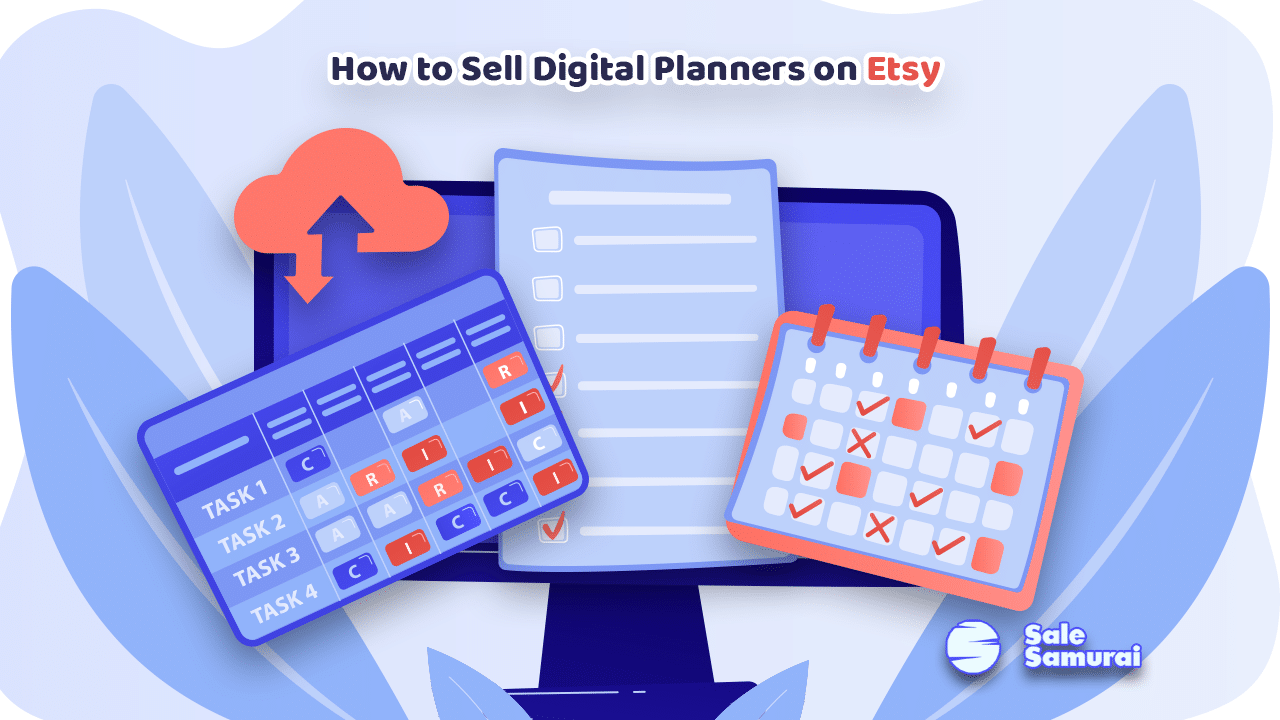
How to Sell Digital Planners on Etsy. Selling digital planners on Etsy is similar to selling actual planners, the only difference being you are selling a digital product that people can purchase, download, and start using immediately.
Digital planners are among the top recommended digital download products that people are taking advantage of as we speak. This is a huge market that is still growing. In this article, we will go over what digital planners are, how to make them, and how to list them on Etsy to maximize sales!
Digital Planners on Etsy
Who doesn’t love using a planner? Seriously, whether you’re a student, a professional, or someone picking up a new hobby planners are a fantastic way to organize your daily tasks, weekly goals, and monthly milestones.
Now imagine instead of going on Etsy and ordering a physical planner and then waiting for it to arrive all you do is purchase a digital version of the product and voila!
You can now immediately access your planner from anywhere in the world and on any device.
More often than not when people go digital with things like planners or to-do lists they never look back.

So it’s a win-win for everyone. The customer loves the product because they can open their planner on their phone or computer without having to carry a big notebook everywhere and the seller (that’s you by the way) wins as well!
How you may ask?
Well just think about it, you don’t have to hold any inventory, handmake products, or ship anything anywhere. All you do is create the digital planner file once and start selling it forever!
Digital planners allow you to offer customers special features that just aren’t available with traditional planners including things like hyperlinks, reorganizing different pages, and having digital stickers.
Read below to find out how you can start making these digital products today and start selling them on Etsy.
How to Create a Digital Planner?
Creating any digital product is almost always very top-heavy meaning that there is more work in the beginning than at any other point.
The good news is that once you are done with this fairly simple but mildly time-consuming process everything else is much easier!
There are various programs and applications you can use to create digital products including planners. Things like Photoshop, InDesign, and Illustrator are among the more advanced and costly options.
If you are a graphic designer then you can just use one of the applications mentioned above, skip this part, and scroll down to find out how to maximize earnings. Otherwise, stick around for a quick guide.
We strongly recommend using a free tool like Canva to create your digital planners.
Canva’s drag-and-drop features are incredibly easy to use but we went ahead and created a quick guide specifically for creating digital planners below.
Creating Digital Planners with Canva
- Click “Create a Design” at the top right and select “Custom Size” and go with 8.5 by 11 inches.
- Start by adding some text with the “Text” icon on the bar on the left. Choose a font and text color at the top. You can also adjust the size. Write something like “Daily Planner” or “To-Do”.
- Next go to “Elements” again on the left and choose “Lines & Shapes”, pick the solid line, and place one on your design. Duplicate this line several times dragging and dropping each one below the other to create a lined grid like a notebook.
- You can then select a square shape from “Elements”. Adjust the size so that you can duplicate these squares as well and place them next to the lines to act as checkmarks for individual tasks.
- You can then add some more boxes around the page to act as note-taking sections. Make sure to play around with teh colors and make planners that you think your audience would like to use. You can even assign headings for each box so people have an idea of what to write in each.
- You can get really fancy with your design and add circle shapes at the top labeling them for each day of the week with letters like M, Tu, W, Th, F, Sa, and Su.
- Once you start getting the hang of Canva try adding some other brand-specific elements that will really make your design stand out!
- Once you’re done you can either save the single page, duplicate the same design as many times as you would like, or create a unique planner for each day of the week. Then go to the top right where it says “Share”, click the drop-down menu, and choose “PDF Print”.
Once the file is downloaded you can head on over to Etsy to list your product.
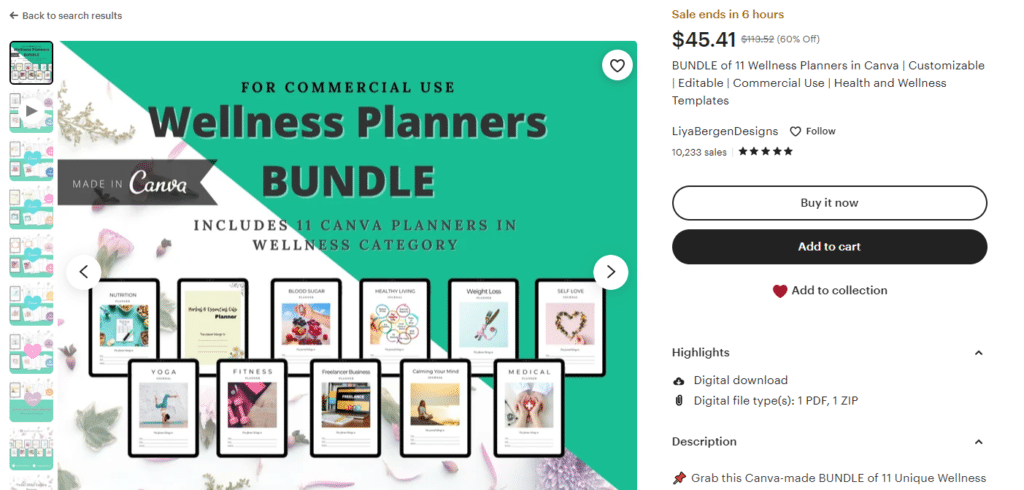
Some ideas for digital planners include:
- Digital self-care and wellness planners
- Digital wedding planners
- ADHD-specific planners
- Digital student planners
- Digital small-business planners
- Digital social media planners
These ideas should help you get started but the possibilities are virtually endless!
Maximizing Your Digital Planner Sales on Etsy
Uploading a digital planner as a product on Etsy involves the same steps as any other product, the only difference being you select “digital” when it asks for a “product type”.
You can find out more about how to list on Etsy from the Etsy Help Center here.
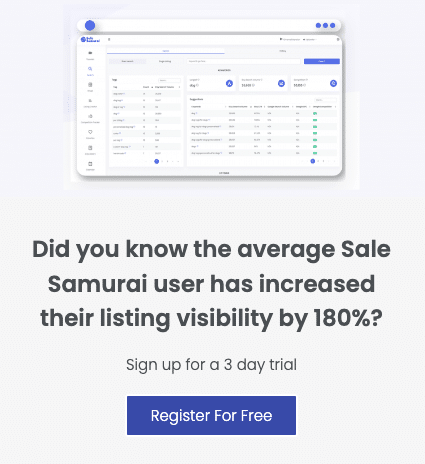
If you’re looking to make some serious passive income with Digital Planners on Etsy then you need to get in touch with us today!
Sale Samurai will give you the tools and information you need to get started and start making money as soon as possible.
Our all-in-one tool for Etsy SEO growth will cut your research time so you can immediately get a head start. We will provide high-search and low-competition keywords so that you can take advantage of where your competition is falling short in meeting customer demand and search behavior.
- Why Buyers Abandon Cart on Etsy (And How to Fix It)
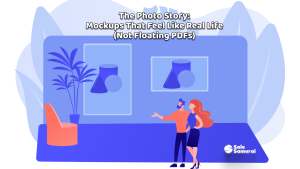
- The Photo Story: Mockups That Feel Like Real Life (Not Floating PDFs)
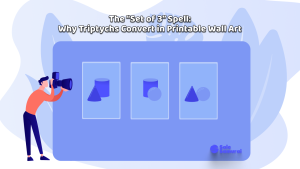
- The “Set of 3” Spell: Why Triptychs Convert in Printable Wall Art
- The “Room” Strategy: Selling by Space (Kitchen, Nursery, Office, Classroom)

- Why Some Listings Get Clicks but No Sales: The Trust Gap Problem